Creating stunning visual renders in Blender is like painting a masterpiece; it requires a blend of skill, creativity, and the right tools. Whether you’re a seasoned artist or just starting out, understanding the nuances of Blender can elevate your 3D projects to a whole new level. Have you ever gazed at a render and wondered, “How did they achieve that?” Well, the secret lies in mastering a few key techniques that can transform your work from ordinary to extraordinary.
One essential aspect is to download high-resolution 3D models. These models serve as the foundation of your scene, much like a solid canvas for a painter. Using high-quality assets not only improves the overall aesthetics but also enhances realism. Think of it this way: would you rather paint on a rough, uneven surface or a smooth, pristine canvas? The choice is clear!
Furthermore, consider exploring various platforms to find the best models. Sites like TurboSquid, Sketchfab, and CGTrader offer a plethora of options that can suit any project. By incorporating these high-resolution assets into your renders, you’ll notice a significant boost in detail and visual appeal.
So, as you embark on your journey in Blender, remember that the secret to eye-catching renders isn’t just about technical skills—it’s about finding the right resources and knowing how to use them effectively. Are you ready to unlock the potential of your creativity?
Understanding Lighting Techniques
Effective lighting is the backbone of any stunning render in Blender. Imagine walking into a room where the light dances off the walls, creating an inviting atmosphere. That’s the kind of magic you can achieve with the right lighting techniques! When you’re setting up your scene, consider the mood you want to convey. Do you want it to feel warm and cozy, or cool and mysterious? Each type of lighting can evoke different emotions and enhance the overall aesthetic of your 3D project.
There are several lighting setups you can experiment with:
- Three-Point Lighting: This classic method uses a key light, fill light, and back light to create depth and dimension. It’s like having a personal spotlight that highlights your subject while keeping the background interesting!
- HDRI Lighting: High Dynamic Range Images can provide realistic environmental lighting. Just think of it as capturing the essence of a beautiful sunset and bringing it into your scene.
- Area Lights: These are great for simulating natural light sources, such as windows. They can create soft shadows and a more organic feel.
Remember, the placement of your lights is just as important as the type. Experiment with angles and distances to see how they affect shadows and highlights. A well-placed light can transform a flat render into a captivating visual story. So, don’t hesitate to play around and let your creativity shine!
Lastly, always download high-resolution 3D models and renders to ensure your lighting techniques have the best canvas to work with. Whether you’re using Blender, Cinema 4D, or other platforms, the quality of your models can make a significant difference in the final output.

Texturing and Material Application
When it comes to creating stunning visual renders in Blender, texturing and material application play a pivotal role. Think of textures as the skin of your 3D models; they add life and realism that can transform a basic shape into a breathtaking masterpiece. But how do you achieve that level of detail? Well, it all starts with downloading high-resolution 3D models and textures. This is like choosing the right canvas for a painting—quality matters!
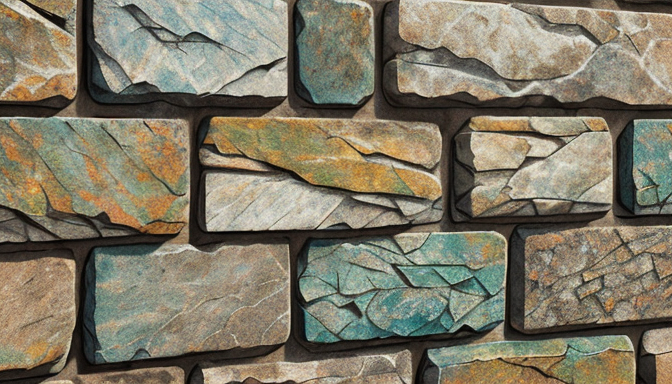
One effective approach is to leverage image textures. These are essentially photographs or patterns that you can wrap around your models. Imagine taking a photo of a brick wall and mapping it onto a cube; suddenly, that cube looks like a real brick! Additionally, procedural textures can be used to create unique surfaces without relying on external images. This method is akin to mixing your own paint to get the perfect shade.
To further enhance your renders, consider the following key aspects:
- UV Mapping: Properly unwrap your model to ensure textures align correctly.
- Material Nodes: Utilize Blender’s node system for advanced material creation, allowing for greater control over how surfaces react to light.
- Realistic Shaders: Experiment with different shaders to mimic materials like glass, metal, or fabric.
In conclusion, mastering texturing and material application is essential for any 3D artist. By focusing on high-quality resources and experimenting with various techniques, you can elevate your renders to a whole new level. So, what are you waiting for? Dive in and start transforming your projects today!
Frequently Asked Questions
- What is the best lighting setup for my Blender renders?
Choosing the right lighting can be like picking the perfect outfit for an occasion! A three-point lighting setup is a classic choice that adds depth and drama. Experiment with key, fill, and rim lights to see how they affect your scene’s mood.
- How do I achieve realistic textures in Blender?
Think of textures as the skin of your 3D models. To make them lifelike, use high-quality images and the right UV mapping techniques. Don’t forget to play with the material settings to add that extra touch of realism!
- Can I use Blender for both animation and still renders?
Absolutely! Blender is like a Swiss Army knife for 3D artists. Whether you’re creating a dynamic animation or a stunning still render, its versatile tools have got you covered. Just make sure to tailor your settings to fit your project’s needs!
- What tips can improve my render times?
Render times can be a pain, right? To speed things up, consider lowering your sample rates, using simpler shaders, or even optimizing your scene by reducing unnecessary geometry. Think of it as decluttering your workspace for better productivity!